We recently did a concrete polishing job and thought it would be a good opportunity to post how polished concrete floors are done.
A polished concrete floor is ground and then polished to a glossy, mirror-like finish. There are many design options when it comes to polished concrete. You can choose nearly any colour, create patterns with saw cuts, or embed aggregates or interesting objects into the concrete prior to polishing to give it that wow factor. The reflectivity of the floor can also be controlled by using different levels of concrete polishing.
A polished concrete floor is popular in commercial buildings because it is easy to maintain. Maintaining polished concrete floors requires dust mopping and occasional use of a cleaning product, it does not require more labour or product intensive maintenance, it’s the lowest cost kind of floor to maintain.
In terms of how concrete is polished, simply put, polishing concrete is similar to sanding wood. A heavy-duty polishing machine equipped with progressively finer grits of diamond-impregnated segments or disks (akin to sandpaper) is used to gradually grind down a concrete surface to the desired degree of shine and smoothness.
The polishing process
The concrete polishing process begins with the use of coarse diamond segments bonded in a metallic matrix. These segments are coarse enough to remove minor pits, blemishes, stains, or light coatings from the floor in preparation for final smoothing and polishing.
Depending on the condition of the concrete, this initial rough grinding is generally a three to four-step process.
Once the rough grinding is finished, the next step involves the fine grinding of the concrete surface using diamond abrasives embedded in a plastic or resin matrix. Crews progressively use ever-finer grits of polishing disks (a process called lapping) until the floor has the desired sheen.
For an extremely high-gloss finish, a final grit of 1500 or finer may be used. Experienced polishing teams know when to switch to the next-finer grit by observing the floor surface and the amount of material being removed.
During the polishing process, an internal water-based penetrating sealer is applied. The sealer sinks into the concrete and is invisible to the naked eye. It not only protects the concrete from the inside out, but it also hardens and densifies the concrete.
This eliminates the need for a topical coating, which reduces maintenance significantly vs. if you had a coating on it. Some applicators spread a commercial polishing compound onto the surface during the final polishing step, to give the floor a bit more sheen.
These compounds also help clean any residue remaining on the surface from the polishing process and leave a dirt-resistant finish.
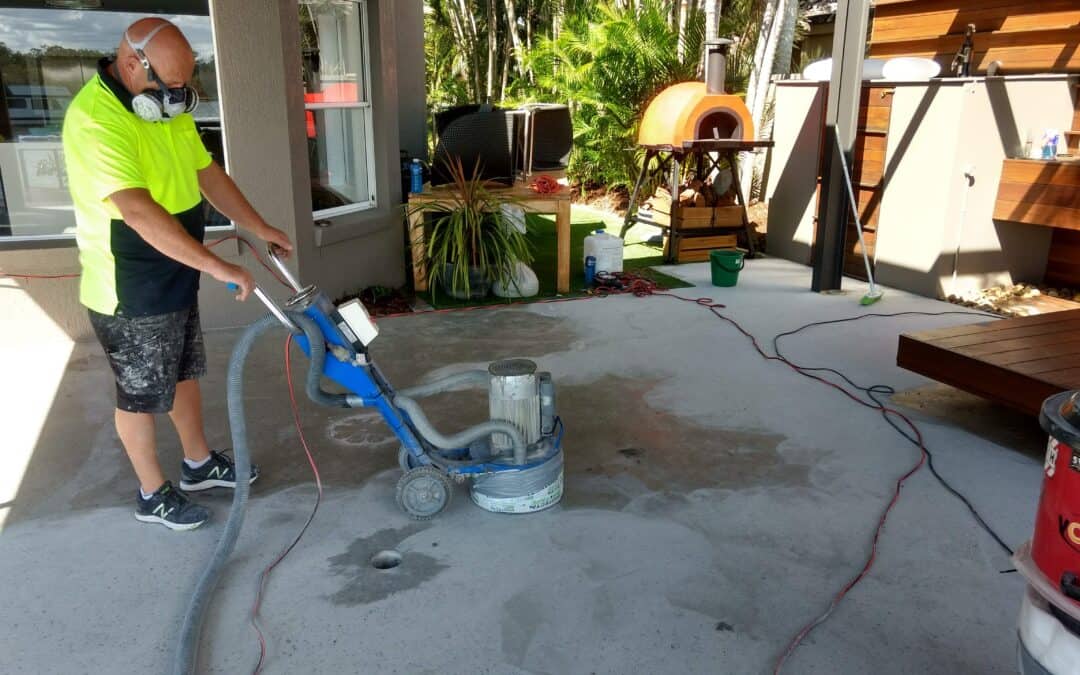
You can polish concrete using wet or dry methods. Although each has its advantages, dry polishing is the method most commonly used in the industry today because it’s faster, more convenient, and environmentally friendly. The main photo in this post is an example of mechanical dry grinding.
Wet polishing uses water to cool the diamond abrasives and to eliminate grinding dust. Because the water reduces friction and acts as a lubricant, it increases the life of the polishing abrasives.
The primary disadvantage of this method is the cleanup. Wet polishing creates a huge amount of slurry that crews must collect and dispose of in an environmentally sound manner.
With dry polishing, no water is required. Instead, the floor polisher is hooked up to a dust-containment system that vacuums up virtually all of the mess as you can see in the photo.
Many contractors use a combination of both wet and dry polishing methods. Typically, dry polishing is used for the initial grinding steps, when more concrete is being removed. As the surface becomes smoother, and teams switch from the metal-bonded to the finer resin-bonded diamond abrasives, they generally change to wet polishing.
Step-by-step concrete polishing process:
- Remove existing coatings (for thick coatings, use a 16- or 20-grit diamond abrasive or more aggressive tool specifically for coating removal).
- Seal cracks and joints with an epoxy or other semi-rigid filler.
- Grind with a 30 or 40-grit metal-bonded diamond.
- Grind with an 80-grit metal-bonded diamond.
- Grind with a 150 grit metal-bonded diamond (or finer, if desired).
- Apply a chemical hardener to densify the concrete.
- Polish with a 100 or 200-grit resin-bond diamond, or a combination of the two.
- Polish with a 400-grit resin-bond diamond.
- Polish with an 800-grit resin-bond diamond.
- Finish with a 1500- or 3000-grit resin-bond diamond (depending on the desired sheen level).
- Optional: Apply a stain guard to help protect the polished surface and make it easier to maintain.
If you have a polished concrete project in mind, call the experts, Barefoot Concrete will help you achieve the outcome you desire and make your concrete look fantastic. Call us now!