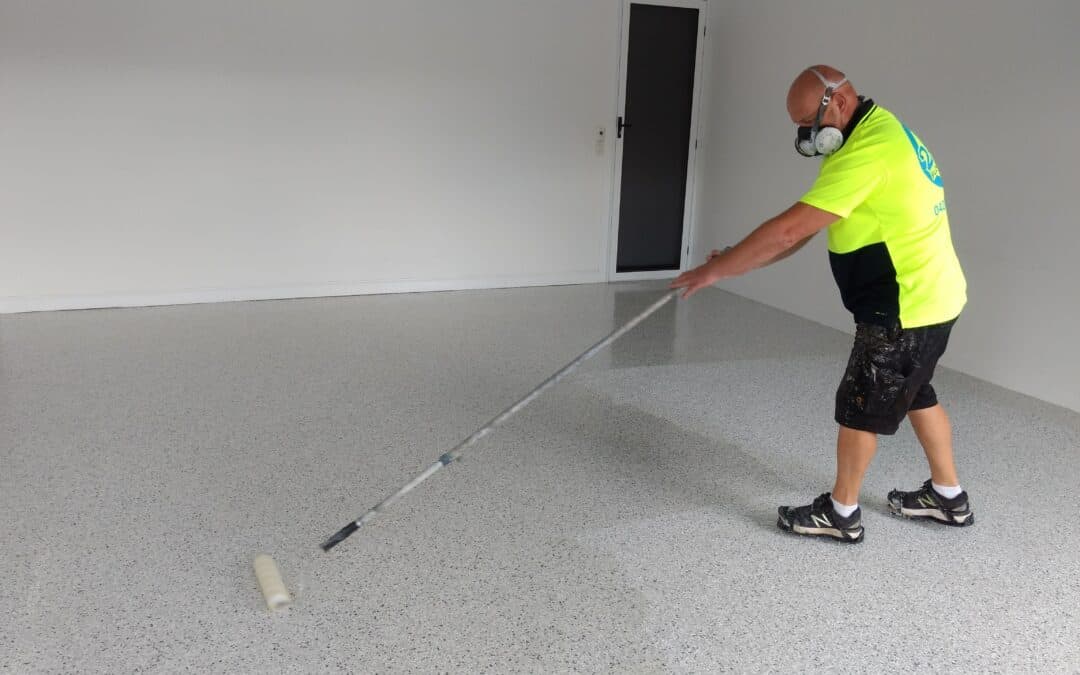
We recently finished an epoxy floor for a double garage for a customer in Southport. The finish that was chosen is ironstone, a popular choice for homeowners looking to transform their garage with an epoxy coating.
The process began by cleaning and priming the floor, repairing cracks, removing pinholes and sink backs. We then apply two coats of epoxy, apply the paint flecks and seal it with a high-quality urethane.
In this blog, we will also cover the basic steps on how we apply an epoxy floor. This should not be treated as the only acceptable procedure for applying an epoxy floor, applicators have their various methods and processes, what works for them.
Every flooring project is different. Conditions prevailing in each situation (substrate, temperatures, humidity and needs of end-user) differ significantly from project to project.
The first step is the preparation of the surface. The purpose of surface preparation is to provide a clean surface with the proper mechanical grit that allows both mechanical and chemical bonding. There are different methods recommended such as grinding or shot blasting. When applying thin coats you should use a less aggressive method.
The second step is to vacuum and clean the surface from all the dust. If the dust is not collected, this will lead to debris getting trapped in the coating. Furthermore, bonding between the epoxy and the substrate will be weakened.
The third step is the application of the primer. If you are dealing with areas that rising dampness we recommend that you use a high-quality water-based epoxy primer. Priming is a very important step that should not be overlooked.
Priming enables the penetration of the substrate so that the floor is ready to accept the new epoxy coating. Furthermore, the use of primer helps to seal the floor and reduces the chances of bubbling. If the substrate absorbs all the primer, we recommend that a second coat is applied.
The fourth step is to close all the cracks and fill all the holes that are present.
Step five involves applying the base coat (or base coats). Depending on the epoxy floor being applied you may have one base coat, several layers or in some cases the base coat is skipped and just a topcoat is applied. In multi-storey car parks, we tend to apply an intermediate elastic waterproofing layer before applying the topcoat.
One of the benefits of applying a base coat is to get a better feel for the floor and to get an idea of how the final floor will look like. The base coat can bring out any existing anomalies or uneven spots. This is a crucial step before applying the topcoat and corrections will no longer be possible.
The sixth step involves applying the topcoat. Depending on the floor system in question, the topcoat can be either an epoxy coat or a self-levelling floor. If you need a fast curing floor we recommend a polyurea or polyaspartic coat.
The job is easily finished in two days, can hold light foot traffic in 24 hours, and cars can drive into the garage after the solution has cured for seven days.
All up, it makes a massive difference to improving the look and value of your home. If you are wanting to transform your floors, speak to the experts, call Barefoot Concrete today and we will come and give you a free no-obligation quote.